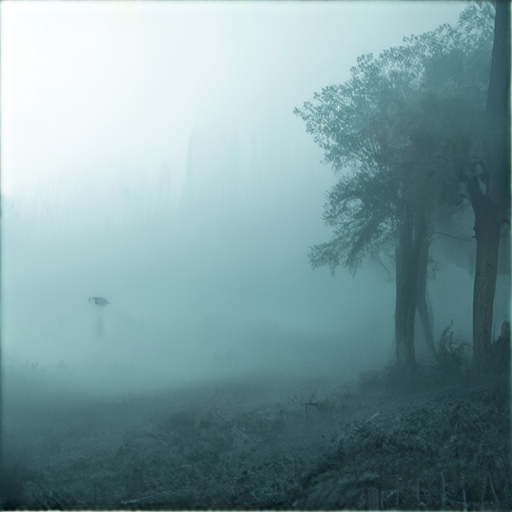
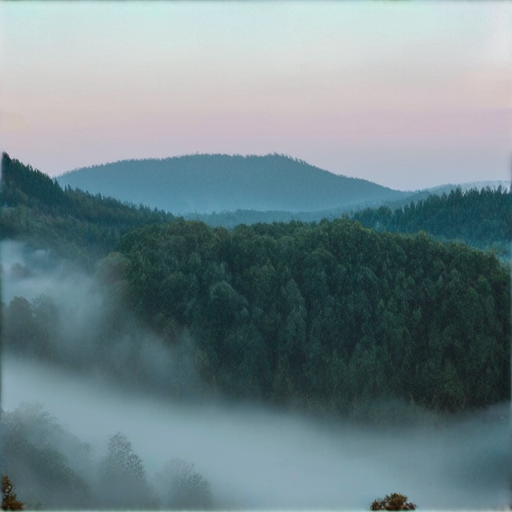
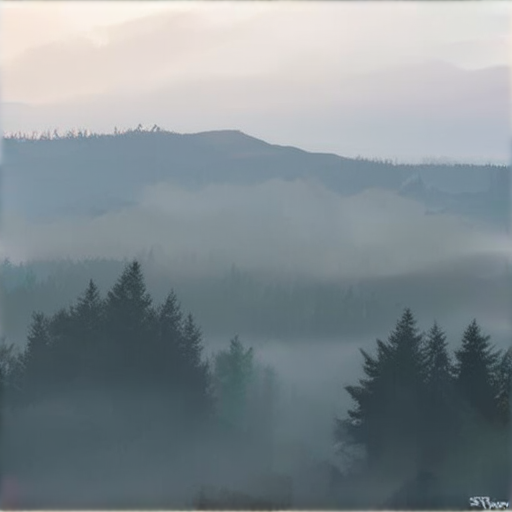
As photographers, we’ve all encountered the frustrating challenge of capturing clear images amidst thick fog, only to find ourselves struggling to edit out the pesky mist that ruins our shots. But what if you could master the art of fog editing techniques, effortlessly removing fog effects from your photographs without compromising their quality? In this comprehensive guide, we’ll delve into the world of fog photography, exploring the best settings to use, effective editing techniques, and expert tips for improving your fog photography skills.

Fog Photography Settings
To capture stunning images in foggy conditions, consider the following settings:
- Aperture: Use an aperture between f/5.6 and f/11 for optimal sharpness and depth of field.
- Shutter Speed: A slower shutter speed can create a sense of movement and blur, adding drama to your image. Experiment with speeds between 1/30s and 1 second.
- ISO: Keep your ISO low (100-400) to minimize noise and ensure the best possible image quality.
- White Balance: Set your white balance to Cloudy or Shade to capture the warm tones often associated with foggy environments.
- Composition: Look for leading lines, symmetry, and unique perspectives to add visual interest to your image.
- Focus: Use a wide-angle lens and focus on a point in the distance to create a sense of depth and atmosphere.
For example, if you’re photographing a distant tree enveloped in fog, an aperture of around f/8 would be ideal to maintain focus across the scene without blurring important details.
Remember to experiment with different settings and techniques to find what works best for your specific shot.
Additionally, consider the following tips:
- Shoot during the golden hour or blue hour for soft, warm light.
- Use a tripod to stabilize your camera and prevent camera shake.
- Pay attention to the fog’s texture and pattern, and try to capture its unique characteristics.
- Experiment with long exposures to create a sense of motion and blur.
By mastering these settings and techniques, you’ll be well on your way to capturing breathtaking fog photographs.
Editing Out Fog
To remove fog from an image, you can use various techniques in Adobe Photoshop.
- Quick Actions: On the Photoshop Express home screen, select Dehaze from the Quick Actions menu.
- Adjust Slider: Select a photo to edit and adjust the slider to enhance the details out of the foggy areas of the image.
- Layer Masking: Use layer masking to isolate the foggy areas and apply adjustments to those specific regions.
- Content-Aware Fill: Utilize Content-Aware Fill to replace the foggy areas with surrounding pixels, effectively removing the fog.
- Clone Stamp Tool: Employ the Clone Stamp Tool to paint over the foggy areas with surrounding details, restoring clarity to the image.
When editing out fog, it’s essential to work on a duplicate layer to preserve the original image and experiment with different techniques until achieving the desired result.
Additionally, consider using the Content-Aware Fill feature to remove fog from large areas of the image.
For more advanced techniques, explore the Photoshop tutorials available online, which cover in-depth methods for removing fog and other image imperfections.
Remember to save your edited image in a suitable file format, such as JPEG or PSD, to maintain its quality and versatility.

Why Is Fog Hard to Photograph?
Fog creates a challenging environment for photography due to its unique properties.
-
The primary reason fog is difficult to photograph is because it scatters light in all directions.
-
This scattering effect reduces the intensity of light reaching the camera’s sensor.
-
As a result, the image appears hazy and lacks definition.
Understanding Light Scattering in Fog
When light passes through fog, it encounters tiny water droplets suspended in the air.
-
These water droplets scatter shorter wavelengths of light, such as blue and violet, more than longer wavelengths, like red and orange.
-
This phenomenon is known as Rayleigh scattering, named after the British physicist Lord Rayleigh who first described it.
-
As a consequence, the scattered light gives the fog its characteristic white or grayish appearance.
Photography Techniques for Capturing Fog
To overcome the challenges posed by fog, photographers employ various techniques:
-
Using slower shutter speeds to capture the movement of fog particles.
-
Employing wider apertures to increase the amount of light entering the lens.
-
Shooting during the golden hour or overcast conditions to minimize harsh shadows and highlights.
Conclusion
Fog presents a unique set of challenges for photographers, but with the right techniques and understanding of light scattering, it’s possible to capture stunning images in these conditions.

Edit Fog into a Photo
To edit fog into a photo, you can use various image editing software such as Adobe Photoshop or Lightroom.
-
Step 1: Import the Image
- Open the image in which you want to add a fog effect.
- Select the image and click on the “Edit” button.
- Navigate to the “Effects” panel and adjust the settings according to your preference.
- Adjust the “Dehaze” slider to -100 to remove haze from the image.
- Scroll down to the “Effects” panel and select the “Fog” option.
- Adjust the “Density” and “Size” sliders to control the intensity and size of the fog effect.
- You can also experiment with different colors and textures to create unique fog effects.
- Once you’re satisfied with the result, click on the “Apply” button to save the changes.
-
Alternative Methods
- You can also use online tools such as Canva or Pixlr to add a fog effect to your photos.
- These tools offer a range of templates and filters that you can use to create professional-looking fog effects.
- Another option is to use a smartphone app such as VSCO or Snapseed to add a fog effect to your photos.
- These apps offer a range of presets and filters that you can use to create unique fog effects.
-
Tips and Tricks
- To create a realistic fog effect, it’s essential to understand the basics of light and shadow.
- Fog tends to obscure objects and reduce visibility, so it’s crucial to balance the exposure and contrast levels in your image.
- You can also experiment with different angles and perspectives to create a sense of depth and atmosphere in your image.
- Remember to save your edited image in a suitable file format, such as JPEG or PNG, to preserve the quality of the fog effect.
Effective Editing Techniques for Removing Fog from Photographs
To achieve stunning visuals and crystal-clear details in your photographs, mastering the art of fog removal is essential.
- Lift Fog with Local Adjustments: Use the Clone Stamp tool or Healing Brush to remove fog from specific areas of the image, working in small increments to preserve detail and texture.
- Global Dehazing: Employ the Graduated Filter or Adjustment Layers to apply subtle adjustments to exposure, contrast, and color balance, effectively lifting fog from the entire image.
- Layer Masking: Utilize layer masks to isolate and edit specific areas of the image, allowing for precise control over fog removal and preserving delicate textures.
- Content-Aware Fill: Leverage Adobe Photoshop’s Content-Aware Fill feature to seamlessly replace foggy areas with surrounding content, resulting in a more natural-looking image.
- Smart Sharpening: Apply smart sharpening techniques to enhance image clarity and definition, reducing the appearance of fog and haze.
By incorporating these advanced editing techniques into your workflow, you’ll be able to remove fog from photographs without compromising image quality, revealing stunning visuals and crystal-clear details.
Best Practices for Fog Removal
- Work in Small Increments: Make local adjustments in small steps, checking the image frequently to avoid over-processing and losing valuable detail.
- Preserve Texture and Detail: Use tools like the Clone Stamp or Healing Brush to carefully restore lost texture and detail, rather than relying solely on global adjustments.
- Monitor Image Clarity: Regularly check the image’s overall clarity and definition, making adjustments as needed to prevent over-sharpening or loss of detail.
- Save Multiple Versions: Create separate versions of the edited image, allowing for easy comparison and selection of the optimal final result.
Tips for Achieving Professional-Grade Results
For exceptional results, consider the following tips:
- Shoot in RAW: Capture images in RAW format to retain maximum flexibility during post-processing.
- Use a Tripod: Stabilize your camera to minimize camera shake and blur, ensuring sharper images.
- Bracket Your Shots: Take multiple exposures to capture a range of tonal values, enabling greater creative control during editing.

Effective Editing Techniques for Reducing Fog Effects in Photographs
To transform hazy photos into stunning crystal-clear masterpieces, photographers need to employ the right editing techniques.
-
1. Adjusting Exposure and Contrast
Start by adjusting the exposure and contrast levels in your image to balance out the brightness and darkness.
This can be done using tools like the Levels and Curves adjustments in Adobe Lightroom or Photoshop.
By making subtle changes to the exposure and contrast, you can start to reveal more detail in the shadows and highlights.
-
2. Using the Orton Effect
The Orton effect is a popular technique for adding a soft, dreamy quality to your images.
To achieve this look, duplicate your layer and then apply a Gaussian blur to the copy.
Merge the two layers together and adjust the opacity to taste.
-
3. Applying Local Adjustments
Local adjustments allow you to target specific areas of your image and make precise edits.
In Adobe Lightroom, use the Adjustment Brush or Graduated Filter to paint in adjustments to your image.
In Photoshop, use the Spot Healing Brush or Patch Tool to remove blemishes and imperfections.
-
4. Utilizing HDR Imaging
High Dynamic Range (HDR) imaging involves combining multiple exposures of the same scene to capture a wider dynamic range.
This can be achieved using specialized software like Nik HDR Efex Pro or Photomatix.
By merging multiple exposures, you can create a single image with greater detail in both the shadows and highlights.
-
5. Employing Noise Reduction Techniques
Noise reduction is essential for removing unwanted grain and artifacts from your images.
In Adobe Lightroom, use the Detail panel to adjust the noise reduction settings.
In Photoshop, use the Noise Reduction filter or third-party plugins like Noise Ninja.
-
6. Using Selective Sharpening
Selective sharpening allows you to target specific areas of your image and apply sharpness accordingly.
In Adobe Lightroom, use the Adjustment Brush or Graduated Filter to paint in sharpening adjustments.
In Photoshop, use the Unsharp Mask filter or third-party plugins like Nik Sharpener Pro.
-
7. Applying Color Grading
Color grading involves adjusting the color palette of your image to create a specific mood or atmosphere.
In Adobe Lightroom, use the Color Grading tool to adjust the color temperature and saturation.
In Photoshop, use the Hue vs. Saturation curve or third-party plugins like Color Efex Pro.
-
8. Utilizing Content-Aware Fill
Content-aware fill is a powerful feature in Photoshop that allows you to remove objects or areas from your image and replace them with matching content.
To use this feature, select the area you want to remove and then go to Edit > Fill > Content-Aware Fill.
Photoshop will automatically fill the selected area with matching content.
-
9. Applying Lens Correction
Lens correction involves adjusting the distortion and chromatic aberration in your image to match the characteristics of your lens.
In Adobe Lightroom, use the Lens Corrections panel to adjust the distortion and chromatic aberration.
In Photoshop, use the Lens Correction filter or third-party plugins like Nik Lens Profile Creator.
-
10. Saving for Web
Saving for web involves optimizing your image for online use by reducing the file size and resolution.
In Adobe Lightroom, use the Export dialog box to save your image for web.
In Photoshop, use the Save for Web dialog box to optimize your image for online use.
By employing these effective editing techniques, photographers can reduce fog effects in their photographs and create stunning crystal-clear masterpieces.
0 Comments